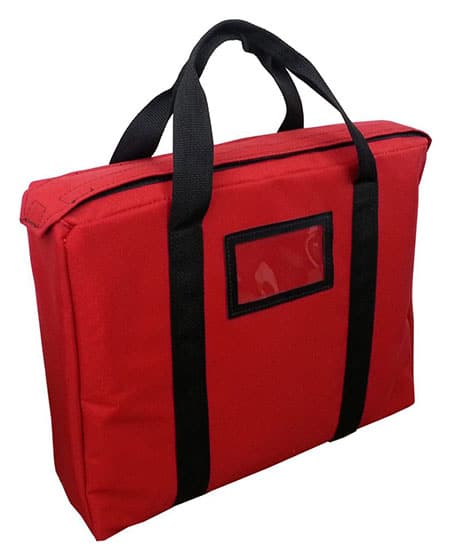
If you’re looking to add a touch of professionalism to your document bag, one way to do so is by adding a company logo. This can be a great way to promote your business and make a lasting impression on clients or customers. Luckily, there are some easy steps you can follow to add a company logo to a document bag. Or if you want to save yourself from the trouble, you can instead purchase custom document bags.
Here is a step-by-step guide on how to add your company logo to a document bag.

Materials Needed:
- Document bag
- Company logo in a digital format (JPEG, PNG, or vector format)
- Heat press or iron
- Heat transfer paper
- Scissors
- Cotton cloth
Step 1: Choose the Right Document Bag
Before you start adding your company logo to a document bag, it’s important to choose the right bag. Look for a bag that is made of a material that can handle the heat of the heat press or iron. Canvas, polyester, and nylon are some of the best materials for this purpose.

Step 2: Prepare the Company Logo
Your company logo should be in a digital format, such as JPEG, PNG, or vector format. If your logo is not in a digital format, you can scan it or have it professionally converted. Once you have the digital file, you can resize it to fit the desired location on the document bag.
Step 3: Print the Logo onto Heat Transfer Paper
Heat transfer paper is a special type of paper that can be used to transfer images onto fabric. You can print your company logo onto heat transfer paper using a standard printer. Make sure to follow the instructions that come with the heat transfer paper to ensure a successful transfer.
Step 4: Cut Out the Logo
Once the logo is printed onto the heat transfer paper, use scissors to cut out the logo along the edges. Be sure to cut as close to the logo as possible to avoid any white spaces around the logo.
Step 5: Place the Logo on the Document Bag
Lay the document bag flat on a surface and place the cut-out logo onto the desired location. Make sure the logo is centered and straight.
Step 6: Apply Heat to the Logo
Cover the logo with a cotton cloth and apply heat to it using a heat press or iron. The heat will activate the adhesive on the heat transfer paper and transfer the logo onto the document bag. Be sure to apply even pressure and heat to ensure a successful transfer.
Step 7: Remove the Heat Transfer Paper
Once you’ve applied heat to the logo for the recommended time, carefully peel off the heat transfer paper. The logo should now be securely attached to the document bag.
Step 8: Check for Any Bubbles or Wrinkles
After removing the heat transfer paper, inspect the logo to make sure there are no bubbles or wrinkles. If there are, you can use a heat press or iron to gently apply heat and smooth out the logo.
Step 9: Repeat the Process for Multiple Document Bags
If you have multiple document bags that you want to add your company logo to, repeat the above steps for each bag.
Conclusion
Adding a company logo to a document bag is a great way to promote your brand and make a professional impression. By following these steps, you can easily add your company logo to a document bag and make sure it looks great. Purchasing made-to-order and custom document bags is also an option. This is a great option if you’re looking to buy in bulk for your company’s needs.
